M8 Competition Launch Event: Augmented Reality Interactions (2/3)
PART 2 OF 3: Engine
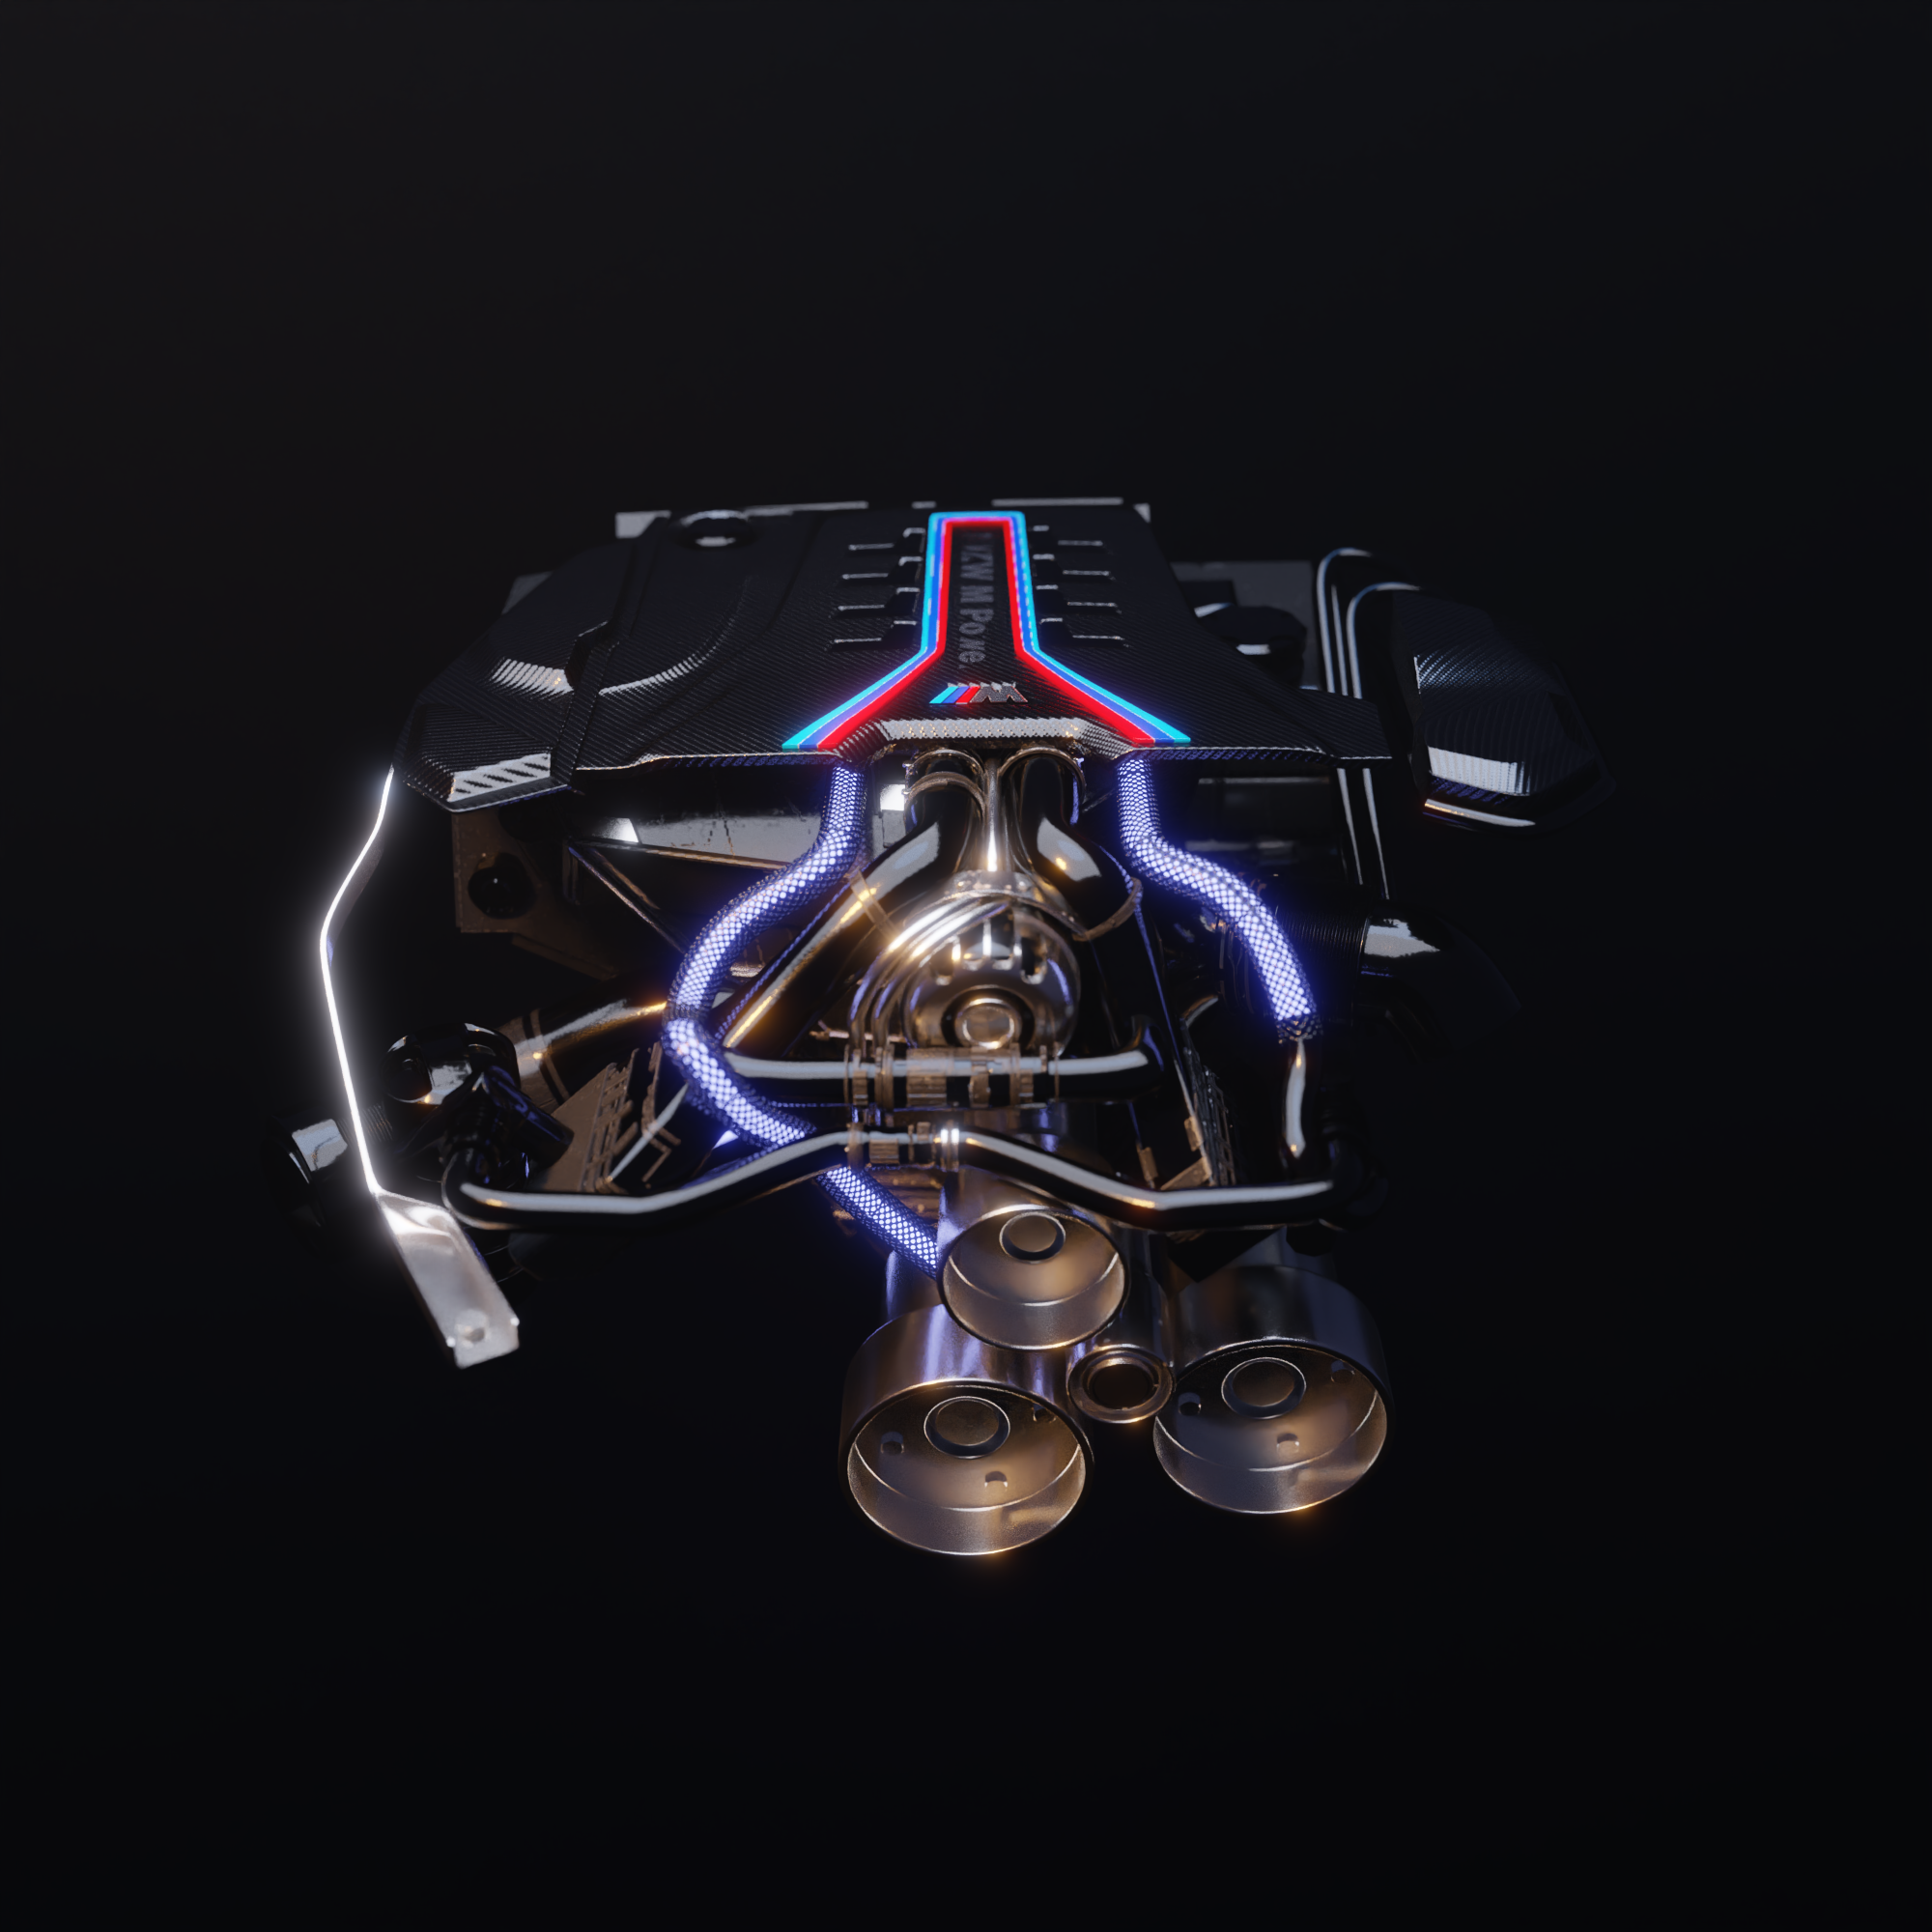
Building upon my last post which covered the M8 Wheel animation for augmented reality, this post focuses on the process for 3D concept development, especially texture detailing using Adobe’s Substance Painter. The M8 engine has a utilitarian beauty to it, showcasing peak Bavarian design through an art form and its refined engineered performance. Our aim was to isolate the heart of the M8 and showcase the engine as a model for viewers to inspect. Workflows used included blocking out the significant shapes, studying the environment lighting, fabricating textures and utilising UDIM techniques to increase file efficiency and load time.
The first step in most of our projects is collecting reference images. Unfortunately for us, we didn't have access to many isolated photos of the lower half of the engine. Instead we applied creative freedom by exploring various hard surface variations and follow the aesthetic direction presented in the M8 Engines visible hardware. At the time of modelling, the QUT M8 was sitting in a shipping container on campus, but fortunately the engine’s top half was easily visible with the bonnet up and this allowed us to build a consistent design aesthetic in other obscured areas. The engine cover on our M8 vehicle is actually different to the one we modelled for the AR experience - we chose this one because it has stripes in the BMW M Sport colours.


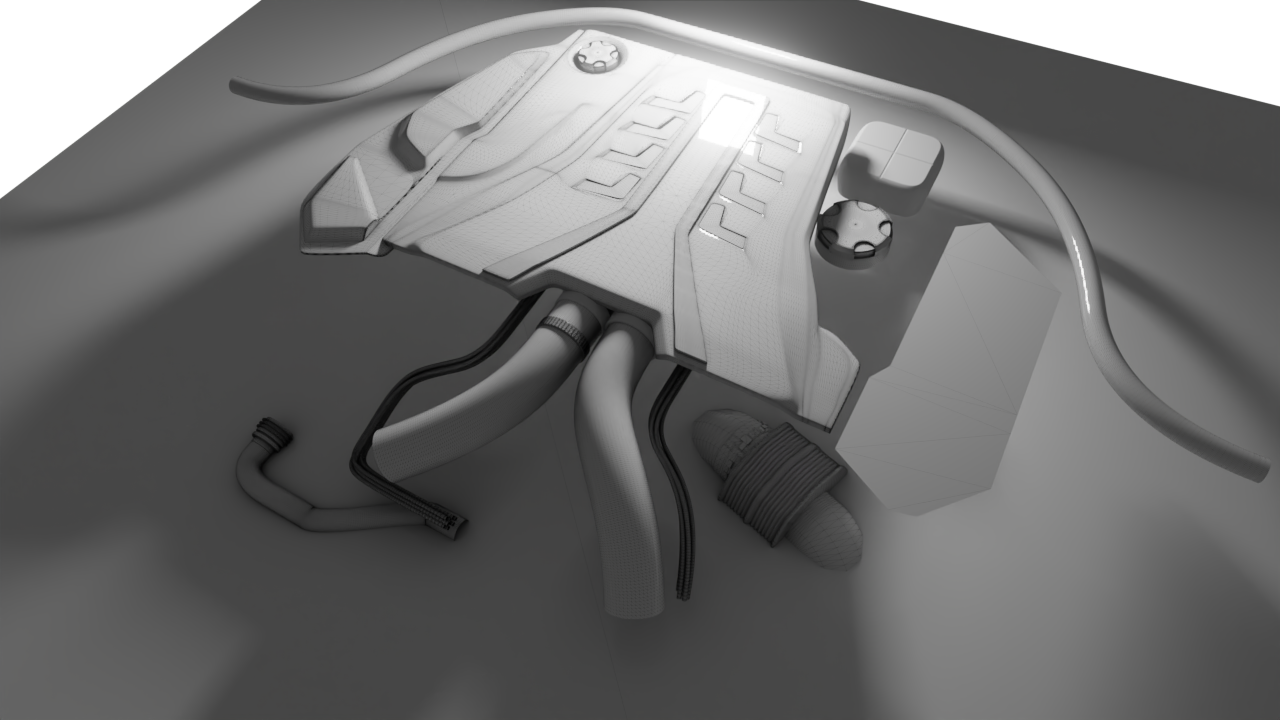
We opted to build the engine in Blender 3D, using a Subdivision (Sub-D) workflow, to manage the organic nature of the iconic carbon fibre engine cover. This was my first time using the software for this particular workflow, and a few key points needed to be maintained to ensure the completed asset was viable for AR. Topology, was the first of these criteria - by maintaining a consistent grid between faces, managing the frequency of edges and vertices can be easily accessed and reduced. Additionally, Sub-D allows us to procedurally apply different levels of detail to the model by doubling the frequency of polygons throughout the mesh. This technique takes a while to master and I’m looking forward to developing this skill in future projects.
Block out of model:

Matte Black

Ambient Occlusion
The lighting and surface quality phases occurred concurrently, with each phase modifying the latter. Before bringing the asset into Substance Painter for a complete application of PBR materials, we experimented with procedural blender materials to gauge the feel of the engine under different lighting set-ups. The below video provides a snapshot of the last stage of modelling, as well as the development of the material and lighting compositions before texturing in Substance.
Lighting studies:


The engine had 5 different texture applications, each demanding its own resolution and textile density. Carbon fibre, a Glossy composite material, Matte Plastic, Coloured accents and Plastic tubing were all materials that we would usually include on a 4K texture map with a colour depth of 16bit. However, our tests indicated that loading large texture sets would lower the stability of the AR experience and cause instances of lag. To accommodate, we approached the issue using UDIMs. UDIM or UV Dimension is a method of ascribing a number to a linear block of UV space. This allows us to distribute different materials, or UV islands with specific textile densities to different UV tiles - and efficiently texture the model without needing a large texture resolution. For our use case, we used 6 UDIM each set to 1080p with an 8bit colour depth and used float values for roughness and metallic surfaces when appropriate. Our approach allowed us to increase the resolution of desired faces while minimizing the total texture budget.
The final step in the implementation of our AR prototype was to rebuild the scene in one to one space with an addressable tracking image. My colleague James Dwyer, utilised Unity and the Vuforia platform to transfer the data to an Android OS while also rebuilding the material links and establishing the asset’s location in physical space. Annotations, Shadows and additional fabricated lighting fixtures were also added to match Beta Lab’s lighting for the launch event. We’re looking forward to streamlining our 3D to AR workflow in the coming months and bringing more experiences to other parts of the M8 in future, or perhaps other BMWs…
Thanks for reading,
Epifanio Pereira
Junior Design Associate